Prerequisites:
- Visual Studio is installed, click link for 'Visual Studio' installation.

2. Select the 'Console Application'.
- Change the 'Name', 'Solution Name' and click on 'OK' button.


3. Download the Webdriver binding for C# language.
- Open the URL: http://www.seleniumhq.org/download/
- Click on 'Download' link for 'C#'.

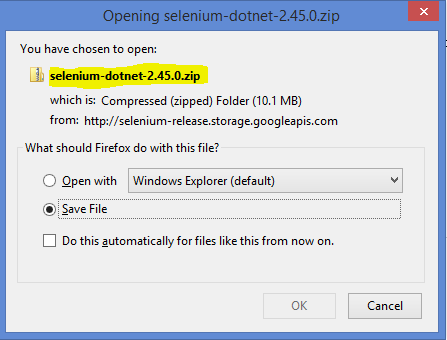
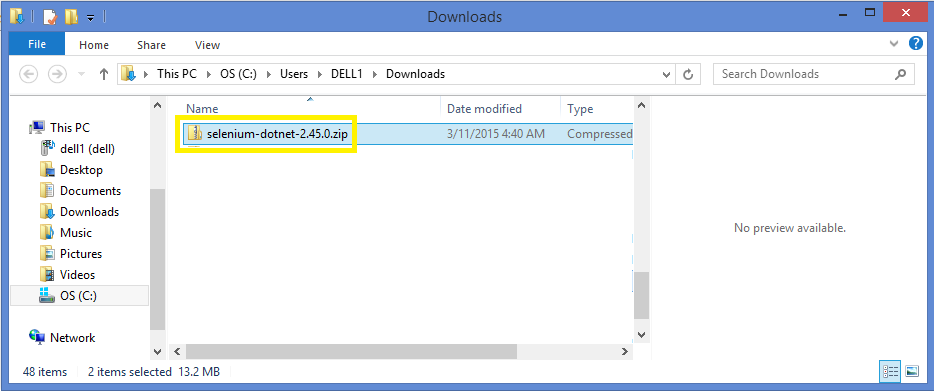
4. Extract the downloaded zip file.


5. Add the webdriver dll's to the 'References'.
- Right click and select 'Add Reference'.


6. Select all the webdriver related dll's and click on 'OK' button.


7. Webdriver dll's are added to the 'References'.

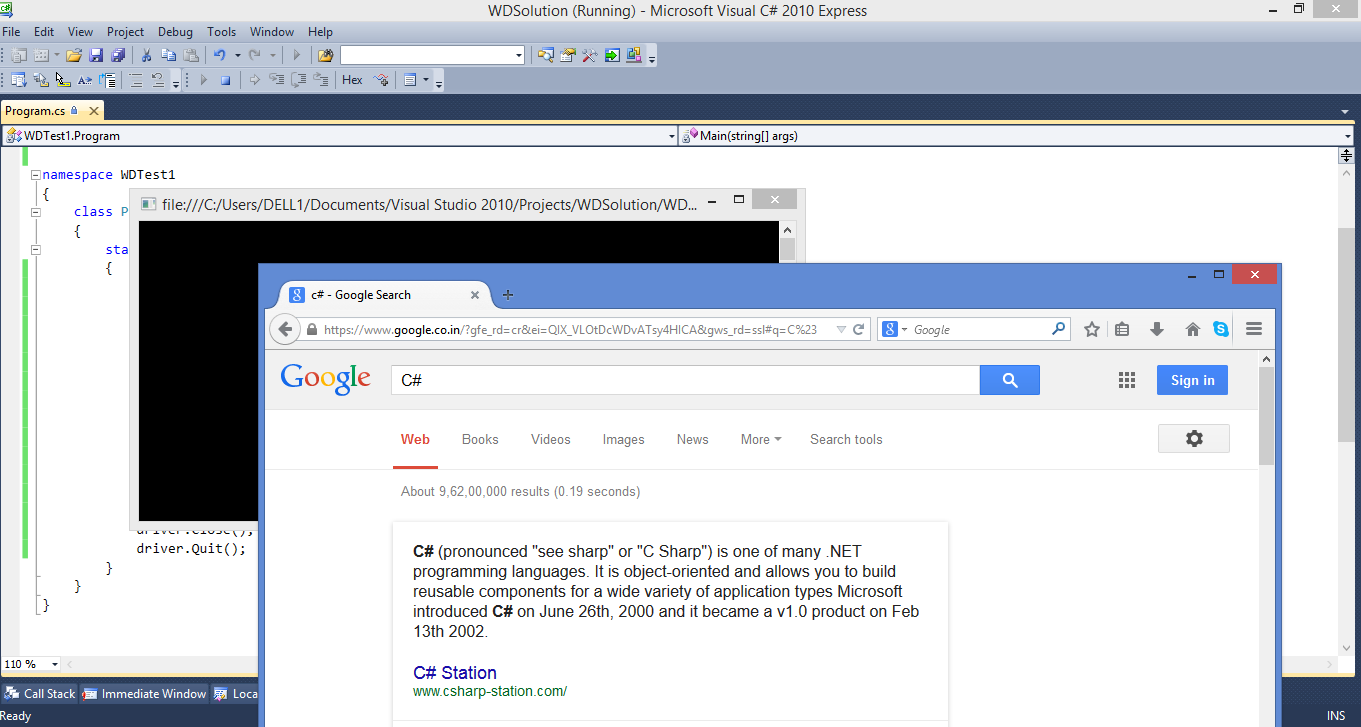
8. Add the code to launch the firefox browser and search for 'C#'.
- Once code is added execute the program, click to execute the program.

Sample Code:
using System;
using System.Collections.Generic;
using System.Linq;
using System.Text;
using OpenQA.Selenium;
using OpenQA.Selenium.Firefox;
namespace WDTest1
{
class Program
{
static void Main(string[] args)
{
IWebDriver driver = new FirefoxDriver();
driver.Navigate().GoToUrl("http://www.google.com");
//Type C#
driver.FindElement(By.Id("lst-ib")).SendKeys("C#");
//Thread.sleep is used for initial/basic level coding,
//In real time its better not to use 'Thread.sleep'.
System.Threading.Thread.Sleep(2000);
driver.FindElement(By.Name("btnG")).Click();
System.Threading.Thread.Sleep(10000);
driver.Close();
driver.Quit();
}
}
}
9. Webdriver code is getting executed.
Environment used:
Above sample program is executed in below environment.
- Firefox browser version 33.0.1
- Windows 8 operating system.
- Microsoft Visual C# 2010 Express.
- Selenium(Webdriver)-dotnet-2.45.0
- Visual Studio is installed, click link for 'Visual Studio' installation.
1. Open the Visual Studio
2. Select the 'Console Application'.
- Change the 'Name', 'Solution Name' and click on 'OK' button.
3. Download the Webdriver binding for C# language.
- Open the URL: http://www.seleniumhq.org/download/
- Click on 'Download' link for 'C#'.
4. Extract the downloaded zip file.
5. Add the webdriver dll's to the 'References'.
- Right click and select 'Add Reference'.
6. Select all the webdriver related dll's and click on 'OK' button.
7. Webdriver dll's are added to the 'References'.
8. Add the code to launch the firefox browser and search for 'C#'.
- Once code is added execute the program, click
to execute the program.Sample Code:
using System;
using System.Collections.Generic;
using System.Linq;
using System.Text;
using OpenQA.Selenium;
using OpenQA.Selenium.Firefox;
namespace WDTest1
{
class Program
{
static void Main(string[] args)
{
IWebDriver driver = new FirefoxDriver();
driver.Navigate().GoToUrl("http://www.google.com");
//Type C#
driver.FindElement(By.Id("lst-ib")).SendKeys("C#");
//Thread.sleep is used for initial/basic level coding,
//In real time its better not to use 'Thread.sleep'.
System.Threading.Thread.Sleep(2000);
driver.FindElement(By.Name("btnG")).Click();
System.Threading.Thread.Sleep(10000);
driver.Close();
driver.Quit();
}
}
}
9. Webdriver code is getting executed.
Environment used:
Above sample program is executed in below environment.
- Firefox browser version 33.0.1
- Windows 8 operating system.
- Microsoft Visual C# 2010 Express.
- Selenium(Webdriver)-dotnet-2.45.0
No comments:
Post a Comment